We all know the struggle of trying to document every picture-perfect moment of a trip while remaining present and fully appreciating your surroundings.
It isn’t easy. That’s why we’re here to give you a few quick tips on how to take great on-tour photos on your first try — so you can spend less time with a camera to your face, and more time fully immersed in the experience.
5 tips for taking perfect photos on your educational tour
— 1 —
People, people, people
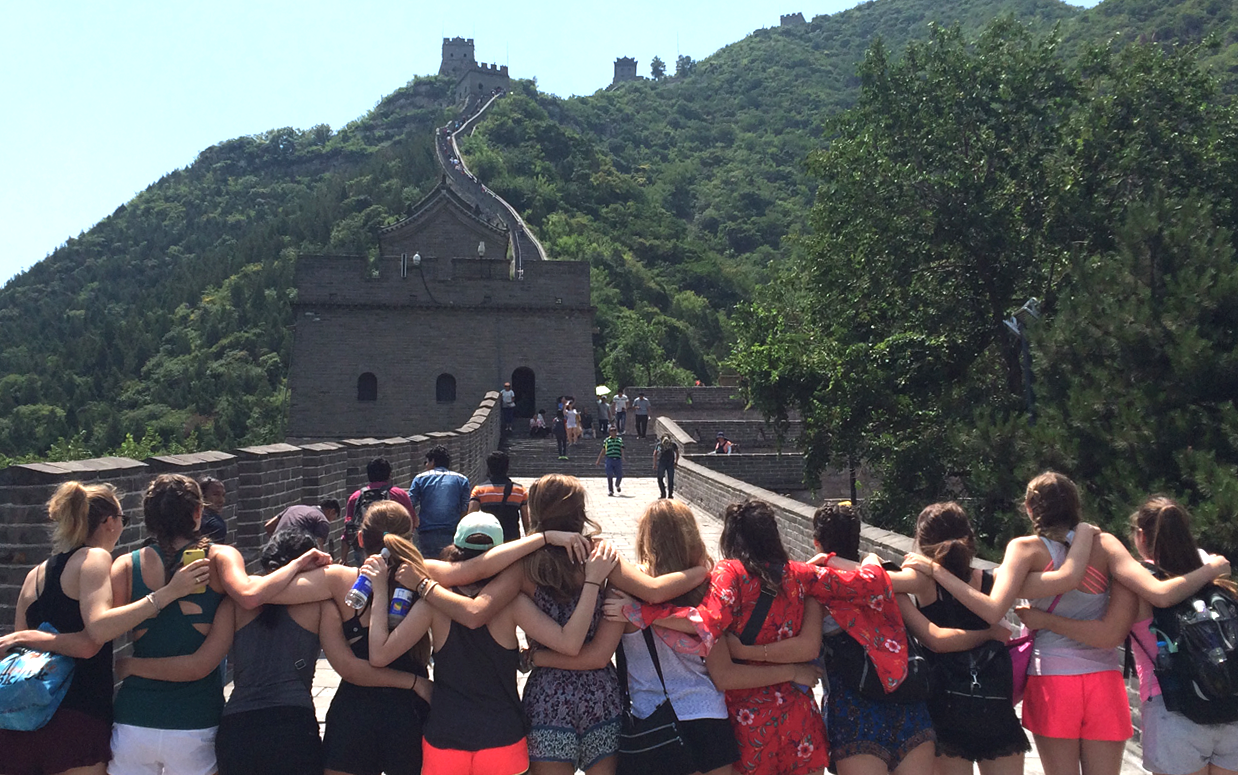
The famous phrase might be ‘location, location, location,’ but when it comes to getting that perfect shot on a travel adventure, you don’t want to forget people!
Landscapes and shots of architecture are often improved by adding someone to the frame. The juxtaposition emphasizes the scale and allows for more dynamic photos.
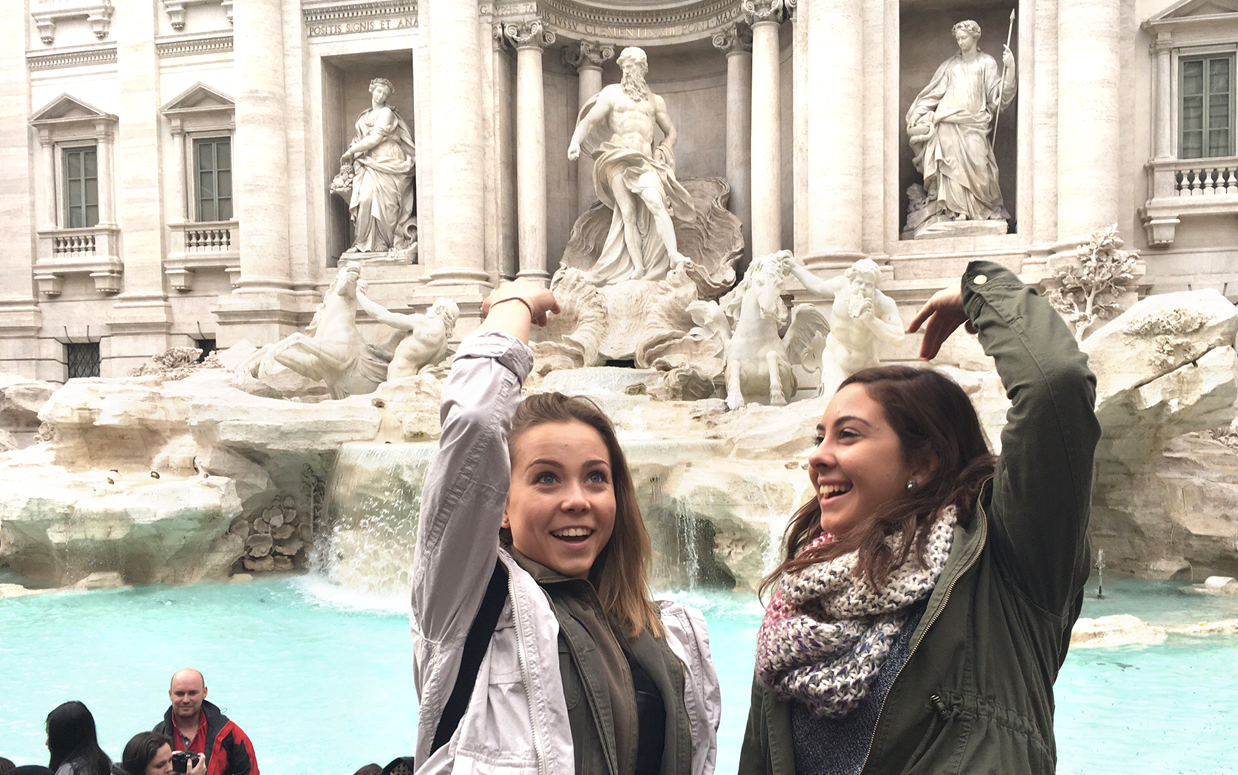
Sure, you might want to capture the Trevi Fountain without a hoard of strangers in front of it — just be patient and usually you can find a moment when the crowds part — but asking a friend to go throw a penny in the fountain gives you a photo you’re more likely to look back on fondly.
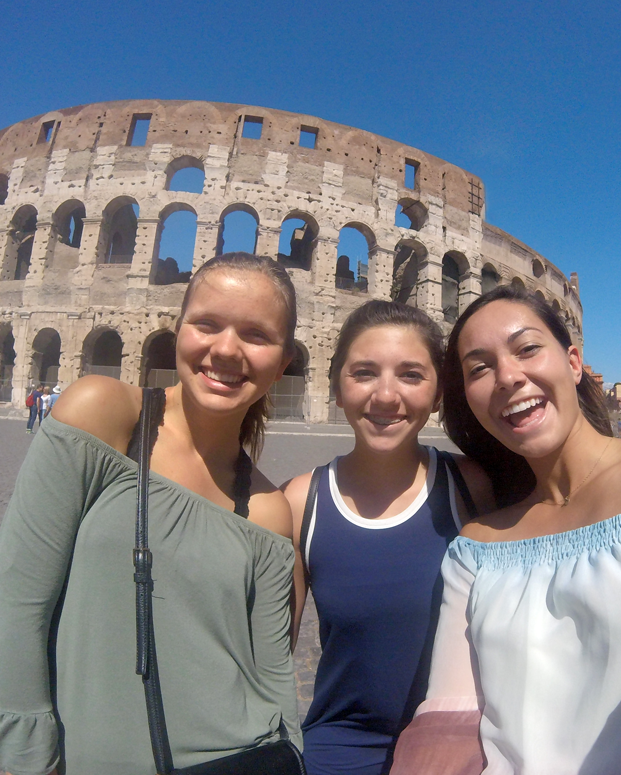
Remember to also get those group photos, and photos with your friends (or with your teacher: Check out our photo contest categories to maximize your chances of winning an Amazon gift card!) in front of the Colosseum or on a gorgeous cobblestone street in Seville. These will have far more impact than photos of just scenery.
And don’t hesitate to ask another traveler to take the picture every now and again so you can get in some shots — you’re going to want those memories!
— 2 —
Follow the light
The most significant element of photography, especially while traveling, is light. You’ve got to work with the sun.
Shooting in the mornings and evenings is the best way to get diffused, warm light. Diffused lighting results in balanced photos without harsh shadows or blinding highlights. These lighting conditions allow people to look into the direction of the sun without squinting and provide a nice glowing effect with the fading sun behind your subject.
You want to try and avoid harsh shadows whenever you can. If you’re taking photos mid-day, experiment with reflecting light on your subjects — even a white piece of paper or the flashlight on your iPhone can help brighten the shadows on people’s faces!
Overcast days can also give you a diffused effect. Always be on the lookout for shade to see if you can replicate this strategy on a brighter day.
Plus, a cloudy sky is an interesting sky. A perfect blue sky may be an indicator for a beautiful summer day, but it never looks quite as good as a sky littered with a few clouds. And don’t underestimate the power of shade! Even a little cover can help avoid squinted eyes and harsh shadows.
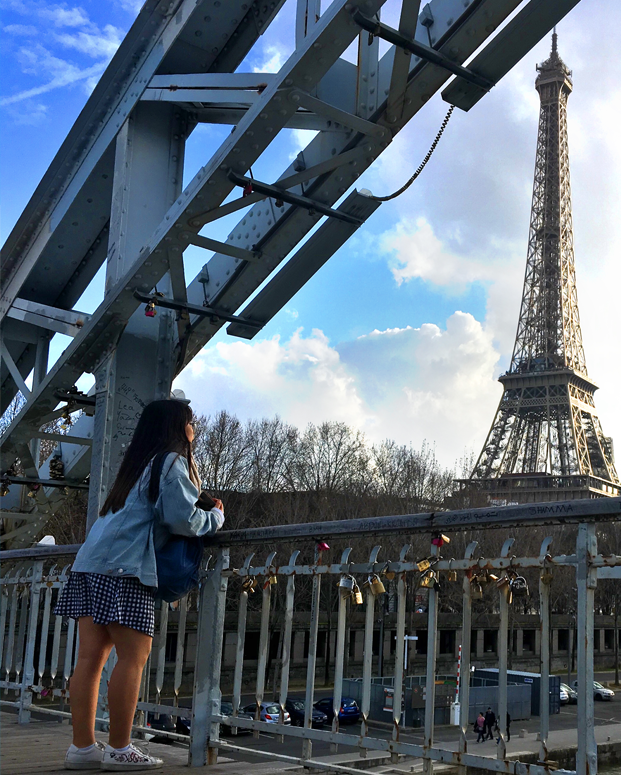
Unfortunately, we can’t control the weather. If you’re in for clear sunny day after clear sunny day (perfect for other aspects of travel!), use the sun to your advantage.
If you’re using a camera with shutter controls, consider adding some motion! Want to get a photo of your friends jumping with the Eiffel tower in the background? There’s no better time than a bright day when you can increase your shutter speed to 1/1000 and capture quick movements.
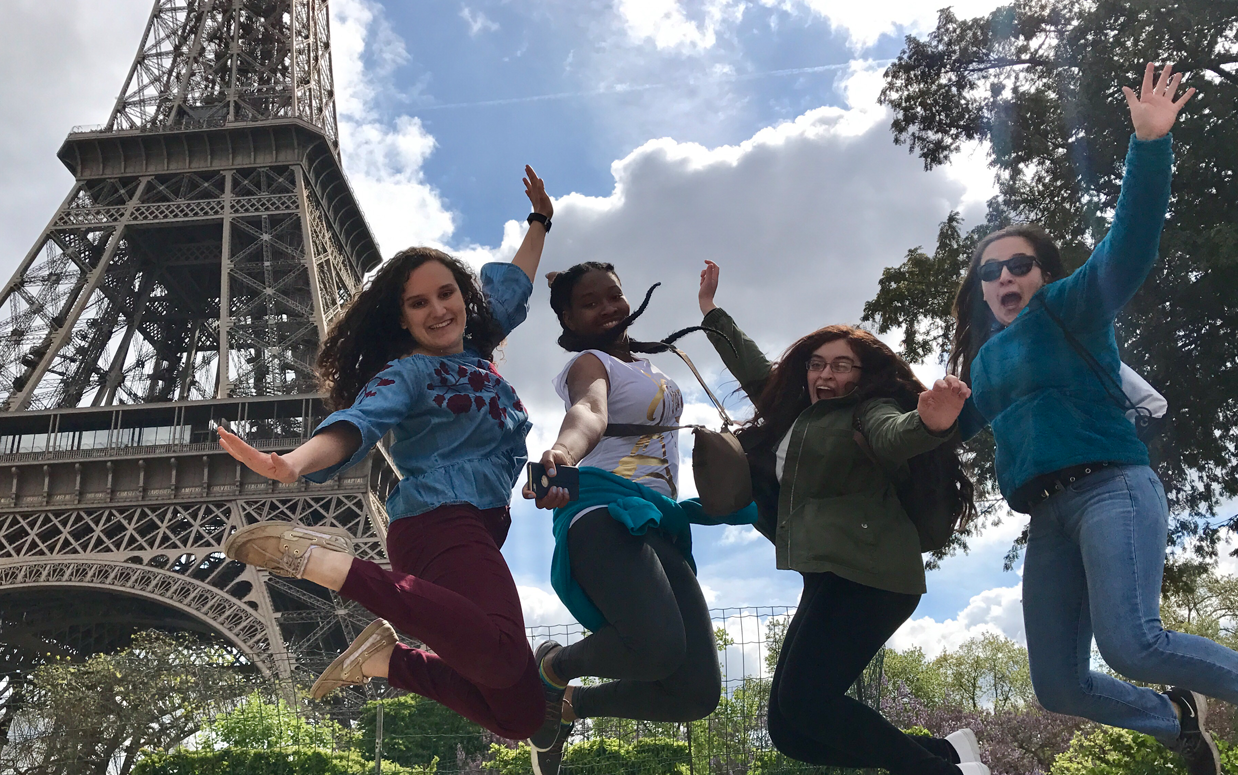
Want a little more advice for shooting in the sun? Check out the Sunny 16 rule.
— 3 —
Find your angle
Experiment with angles. Don’t give up after snapping one shot of a waterfall or monument (Remember: With people is better than without for a great travel photo!). Get closer, shoot again, kneel down and shoot upward… personalize the shot!
There have been countless photos taken of the Arenal Volcano — but this one is yours. Not only will this create unique photos you’ll be proud of, it helps you take in everything happening around you on your travels.
Are you in a museum? Have you looked at the ceiling? No one looks up enough. Give it a try! And, when appropriate, try shooting from the ground. It might give you a really interesting perspective of a famous building we’re used to always seeing straight on.
Don’t go crazy taking a hundred photos of something when you have a limited time to soak it all in (and remember to always be safe!), but you’ll get a feeling of when it’s worthwhile to try something different.
— 4 —
Capture the experience too
When you’re on an Explorica educational tour, you’re not just there to see the Colosseum or the Berlin Wall. The tour aims to bring history to life; your program leader is helping you experience other cultures, and we hope you’ll come home with stories of eye-opening experiences that give you a fresh perspective.
Everyone loves photos of happy people enjoying the sights (see tip #1!) but you should also aim to capture some less-posed moments. Did you find a gelato spot after lunch with a couple friends? Take in the incomprehensible beauty of Egypt from a Camel? Was someone particularly awe-struck by the Alhambra courtyard?
See if you can freeze that second in time. The feeling those moments inspired will stay with you long after the flight back home.
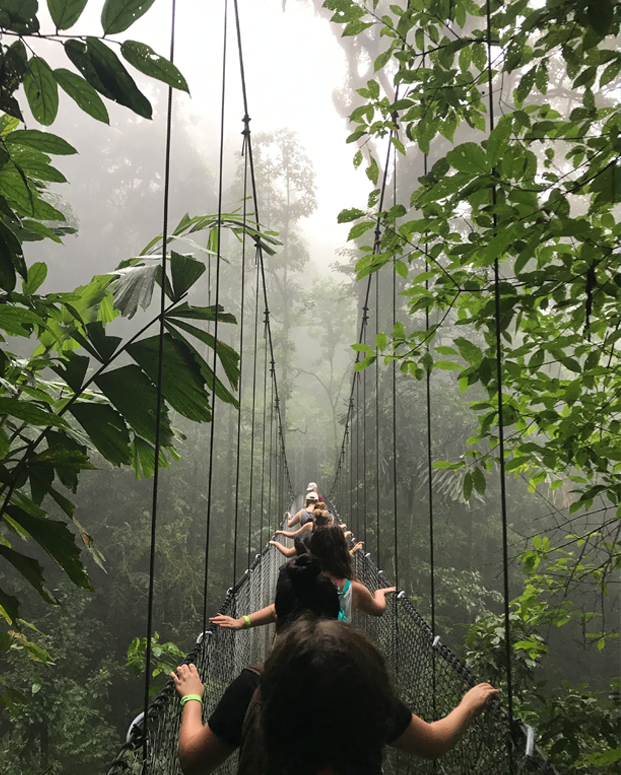
So keep your camera handy to capture the emotions of the trip —and maybe you’ll win our GRAND PRIZE in this year’s photo contest.
— 5 —
Find inspiration
You don’t have to look far to find beautiful feeds on social media of travel photographers posting their most epic shots.
We love @natgeo and @lonleyplanet for travel inspiration. Look at your itinerary, do some research, and see if you can make a short list of things you’ll want to capture. (And maybe some pose ideas for locations like the leaning tower of Pisa?! It never hurts to be prepared!)
And there’s always the explorica Instagram account to give you an idea of how Explorica travelers have documented their adventures.
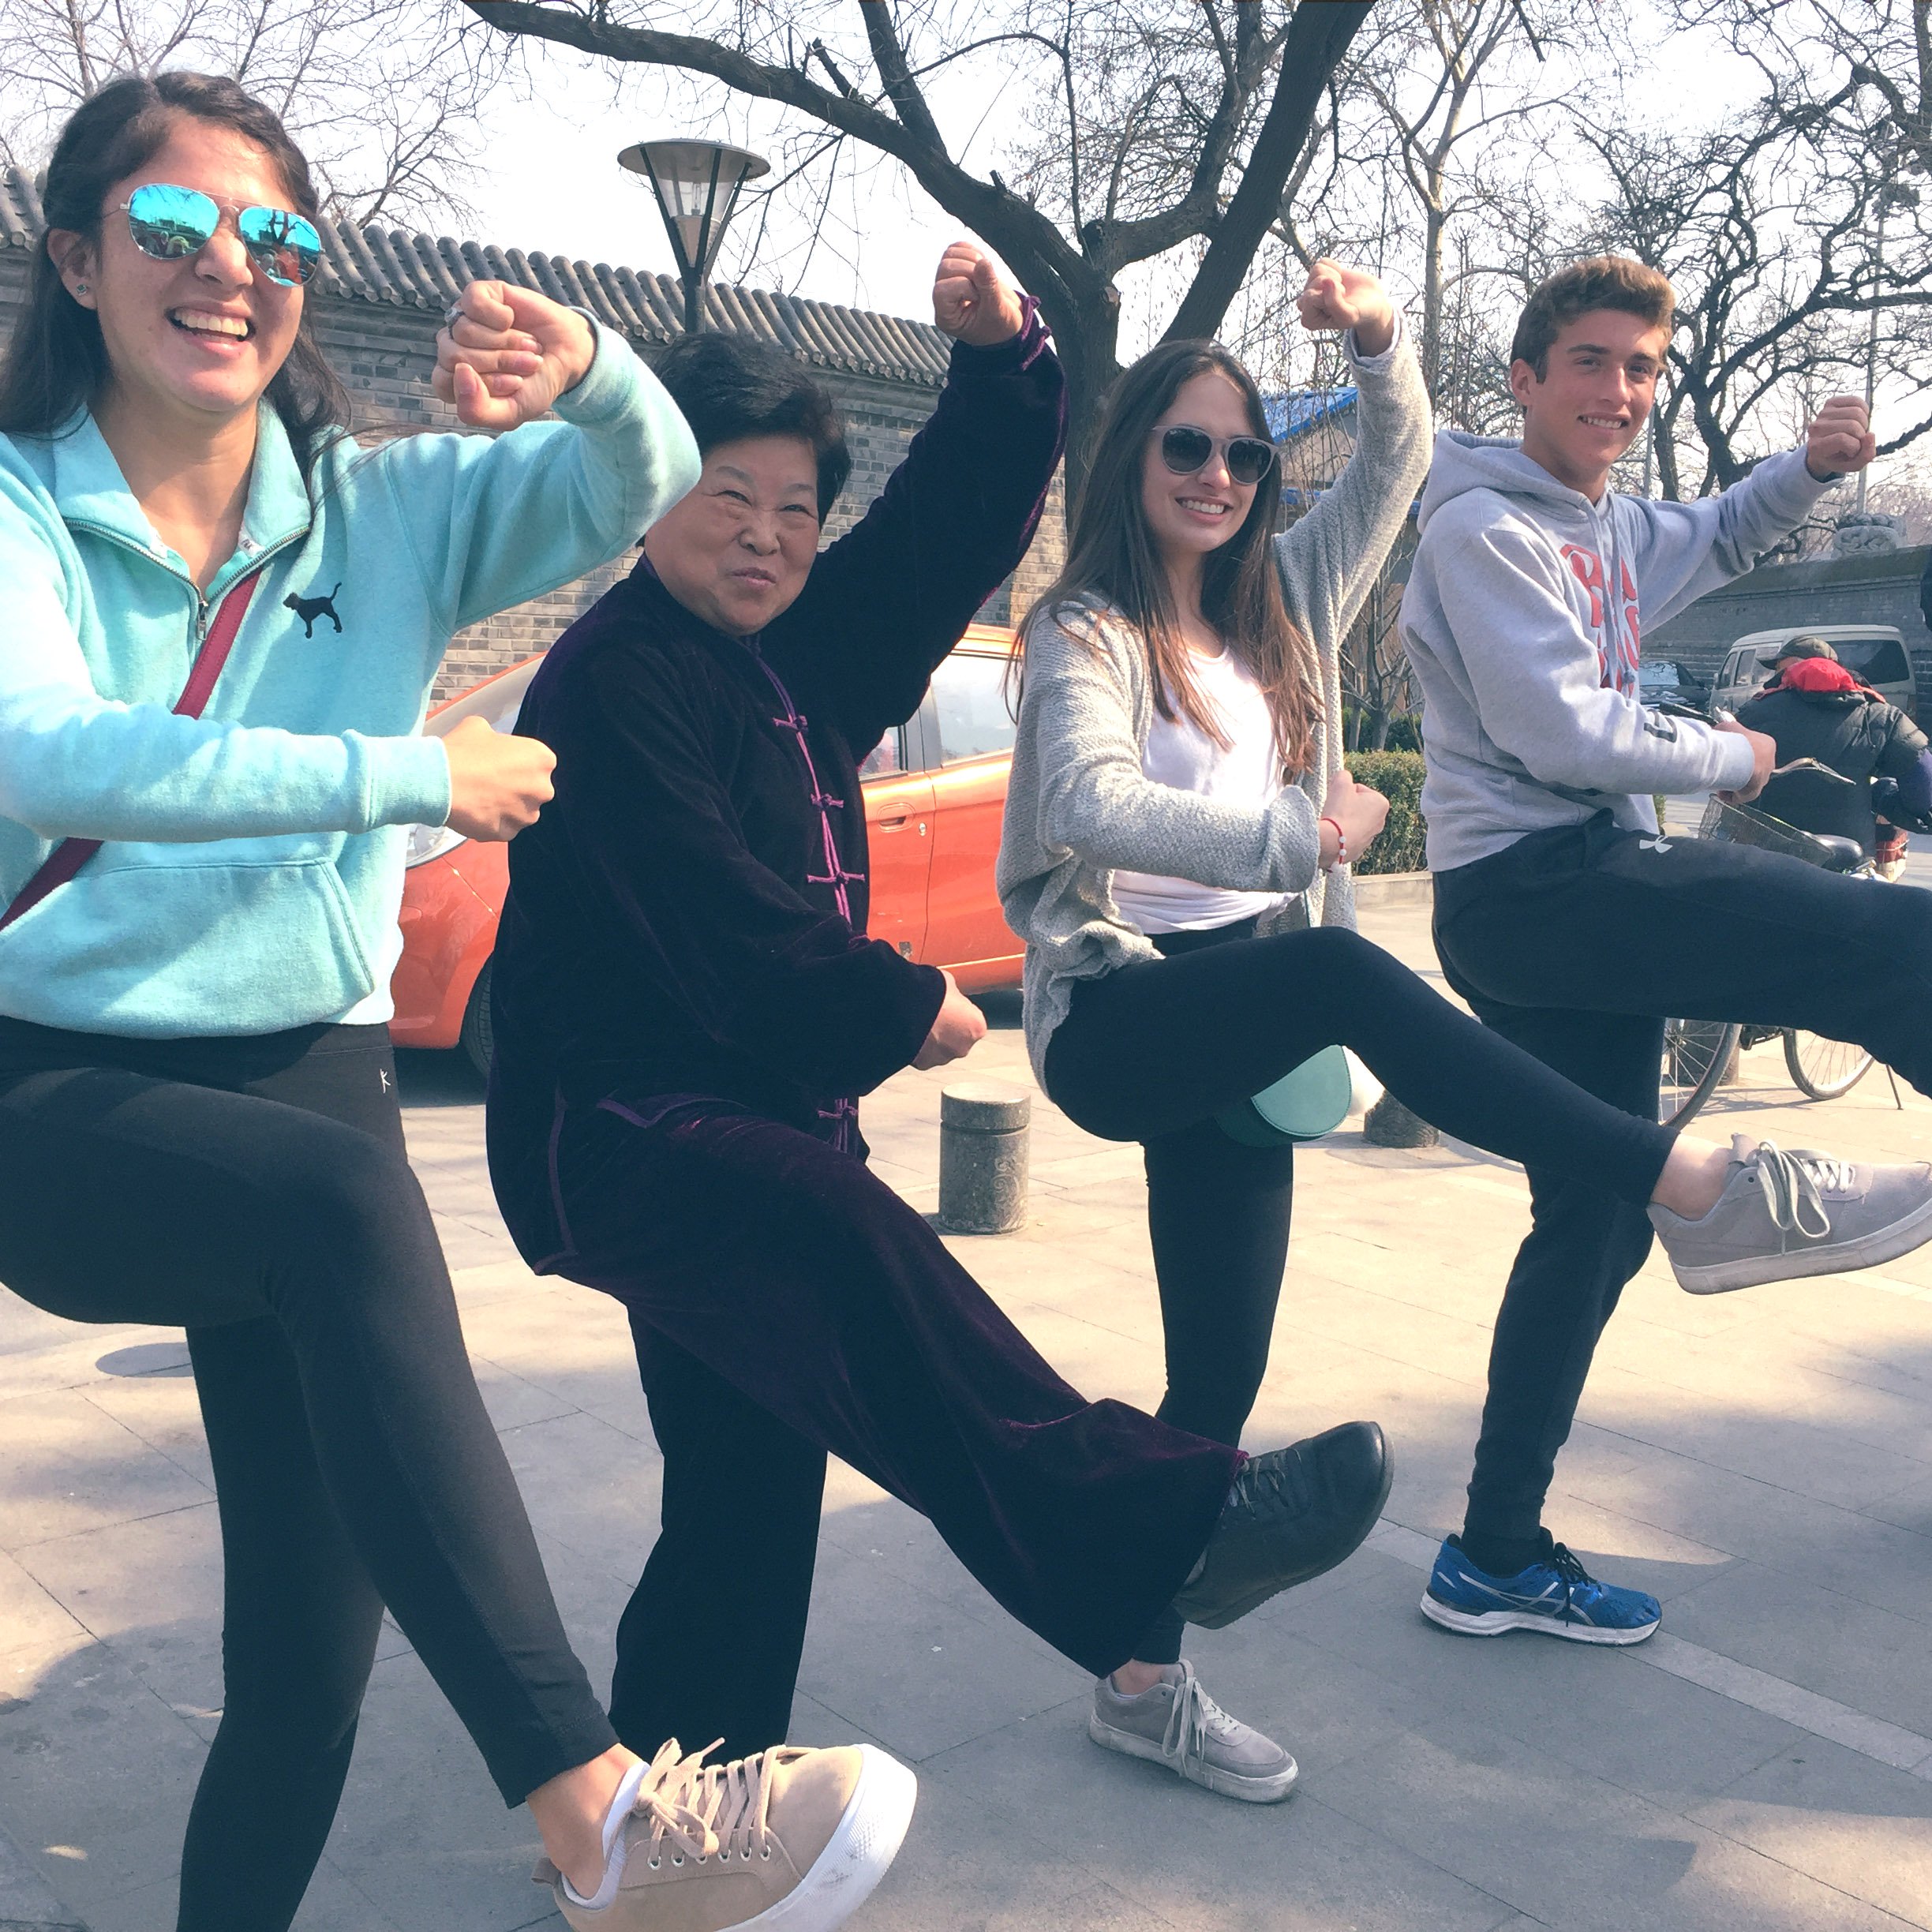
Don’t forget to upload your epic shots to our photo contest for the chance to win a $300 gift card! Plus, you can always tag @exploricacanada on your travel photos to be featured!
- BONUS TIP!
Pack a snap-and-shoot or DSLR camera if you have one. It may add a little weight to your backpack, but it’ll take great high-resolution photos! Our phones keep getting better and better, but — at least for now — you can’t beat the print quality of a photo taken with a good megapixel count. 16-24 megapixels is a good place to start, and you’ll find that in many fairly priced cameras.

